
Video Recording Guide
With a little practice and patience, you can become an expert in capturing video to show your practices with young children. This guide provides general tips and information for before recording, during recording, and after recording. Please also ensure that you have video recording permission from the early learning program site and the families of the children who may be appearing in your videos.
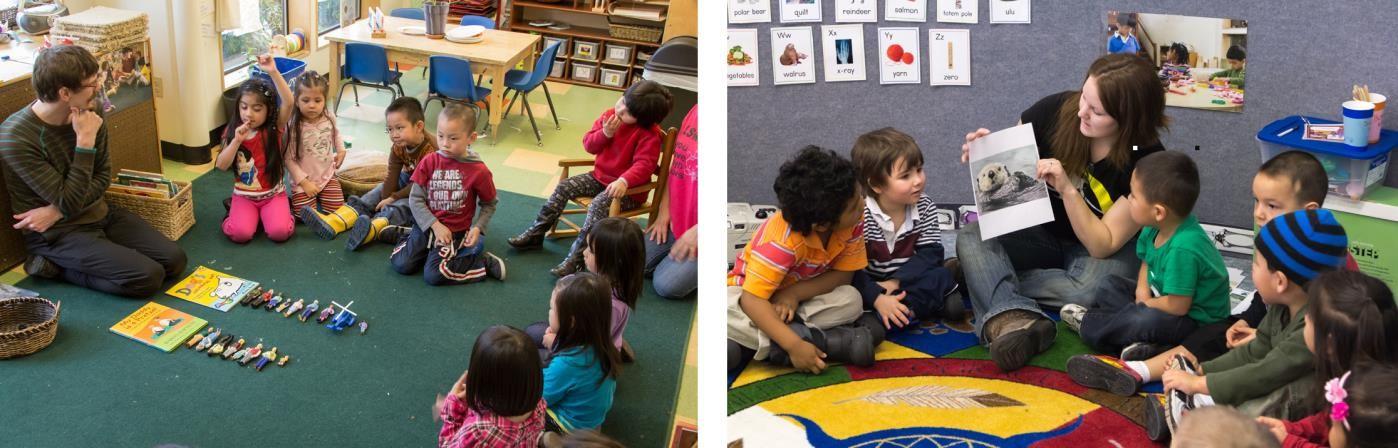
Video can also be used to capture moments to share with families, the tips here will also be valuable when you are documenting for observation and assessment.
Before Recording
Supplies Needed
- Device to capture video and clear audio (e.g., camera, phone, tablet, computer)
- Tripod or another method for making your device stable
- Enough space to store all your video files (e.g., cloud storage, memory card, device memory)
- Batteries or device charger
- Editing software
- (Optional) If you need to move video files from your recording device to another device to edit, you need a method for moving the files (e.g., cord to connect camera to a computer, memory card reader, cloud storage)
Preparing to Use Your Device to Capture Video
- Practice using your device a few times. Test settings, stability, focus, lighting,
and sound. - Make sure you have enough space to capture and store your video files.
- Make sure the device or batteries are fully charged.
Preparing to Capture Video for an Assignment
- After reading the assignment directions carefully, create a plan that includes what you will enact and how you will record it.
- As soon as possible, choose a date and time for capturing your video according to the assignment directions. Remember to plan for the unexpected.
- Discuss the plan with the appropriate people at your site, whether an administrator, lead teacher, or other co-workers.
- Make sure you have gathered and submitted a parent permission form for every child who will appear in your video.
Preparing to be on camera: Camera shy
It’s normal to feel nervous when you’re in front of a camera, and it takes courage to be vulnerable. Remind yourself first and foremost why you are doing this work–to improve your practice and positively impact the lives of children and families. Video-recording your teaching skills is one of the most powerful tools to help you do this. Recognize that everyone in your class is in this together. Videos rarely come out perfect, and that is okay! If you can ground yourself in your purpose and values and remember that being on camera is a learning experience for everyone, over time video recording yourself in your learning setting will become easier.
During Recording
Setting Up in the Classroom
Stability: Use a tripod or another method to ensure the device is in a safe and stable place and will not move.
Framing: Position the device with you on one side of the screen and the children in the rest of the frame. Ensure you and the children are visible for the entire video. For large group activities or if there will be a lot of movement in a large area, you can pull the device back to fit more people in the frame or move the device while recording.
Lighting: Make sure there is enough light. If your device is facing a light source, like a window, people in your video may be difficult to see. Reposition the device to better use the available light.
Audio: Position the device to record the voices as clearly as possible. The closer the device is to the sound source the better the audio quality. Turn off loud appliances or move the device away from interfering noise.
Camera Settings: Make sure the settings on your device are set to capture low-resolution video, resulting in a smaller file size that will be easier to upload and high-quality audio, if your device has audio settings.
Power: Make sure your device has enough power to capture the length of video you need (e.g., batteries or the device is fully charged).
During Filming
Start recording 5-10 minutes before activity. Verify that the camera is recording. Complete the activity and then keep recording for several minutes after the activity ends. If you and the children need to move, reposition the camera and keep recording.
Organizing and Storing Your Videos
Save the video file. If you are using a camera, download the video to a computer or flash drive. If you are using a phone or tablet, either transfer the file to a computer or save it directly on the device.
Review the video and make note of what you might do differently next time in terms of video quality (e.g., adjusting the camera location to improve the lighting or audio).
Name and organize your video files so you can find them later.
After Recording
Editing and Compressing Your Videos
Most computers have editing software such as Apple iMovie or Windows Movie Maker. You can also use free software such as Adobe Express or MPEG Streamclip. These programs have online tutorials to guide you through the editing process.
Trim the excess video at the beginning and end of your video clips as needed. Follow the assignment directions to select a video clip of the correct length and correct focus.
Export or share your edited video to your computer. You cannot upload to Coaching Companion from a cloud location.
If your video file size is too large (over 500MB), see your editing program’s tutorials for guidance on how to reduce the size of your video files. If you can’t reduce the file size with your software, use FreeConvert, a free online video conversion program and choose Compression Method: Target a file size (MB).
Uploading Your Video Assignments
Follow the directions from your instructor about where and how to upload your video. Video files may take a long time to encode and upload, from several minutes to hours, depending on factors such as Internet speed and the size of your file. Do not navigate away from the upload until you see that it has finished uploading.
If your internet is slow, consider going to a location with higher-speed Internet to upload (e.g., your workplace, Universities, etc.). For some platforms, Firefox or Chrome internet browsers work better than Safari. Please note: Internet Explorer is no longer a supported browser.
Technology Support
Use the EarlyEdU Coaching Companion : Help website to look up specific instructions on your assignment type.
If, after following this guide and the tutorials provided, you encounter any technical challenges, you may email 📧EarlyEdU Support. Be prepared to provide specific information about your course, the assignment, error message you are encountering along with information about your video and device.
If you anticipate that your technical challenge will result in a late submission, contact your instructor immediately to communicate the steps you are taking to resolve the issue, and they will work with you to get you the help you need.