
13 Cast Modifications
1. Gather materials
Modification tools: flat head screwdriver, gloves, cast saw, indelible pencil, outside calipers, surforms, loop tool.
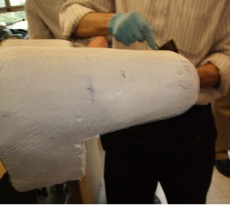
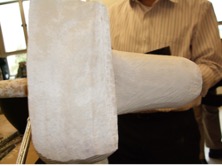
2. Remove wrap and assess mold
Position the mold so that the anterior wall is facing toward the ceiling. Consider how the shape of the model matches your patients shoulder as if they were lying supine on a table.
3. Draw trimlines
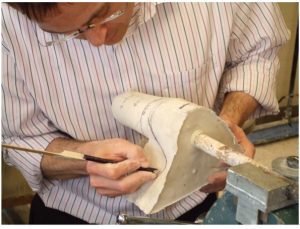 Draw the trimlines on your cast. Mark the reference points – axilla, clavicle, and spine of the scapulaStep back and look at the model. Don’t make any modifications yet.
Trimlines vary, depending on the level of amputation and the activity level
- Type I Elbow Disarticulation
- Axilla trimline: high enough for socket stability
- Anterior trimline: encompass the humerus in its entirety, but does not impede ROM
- Superior/lateral: 1-2cm (½”) proximal to the level of the axilla or at level of axilla
- Posterior: encompass the humerus in its entirety
- Type II Medium-long transhumeral
- Axilla trimline: at pectoralis and teres tendon/muscle
- Anterior trimline: fossa-shaped, deepest portion of deltopectoral groove is medial to the apex of the head of the humerus and about 3-5cm (1-2”) inferior to the clavicle, does not extend to sternum.
- Superior/lateral: 3-5cm (1½-2”) proximal to the level of the axilla
- Posterior: extends over the scapula for socket stability, below the spine of the scapula, does not pass medial border of scapula
- Type III Short Transhumeral
- Axilla trimline: pectoralis and teres tendons/muscles in contact with the socket, extensions down three ribs on the chest wall.
- Anterior trimline: prevent edge pressure; does not impede ROM.
- Short Transhumeral: medial to the delto pectoral groove
- Superior/lateral: 3-5cm (1½-2”) proximal to the level of the axilla
- Posterior: include as much of the scapula as possible
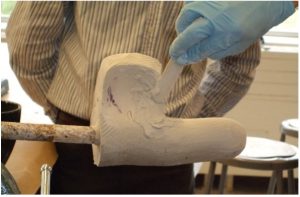
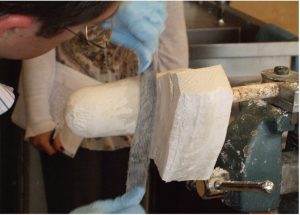
4. Remove plaster
 4a) Start the modifications by placing the mold in the vice with the medial wall parallel to the ground. The location of the proximal lateral trimline is about 1 ½”-2” above the level of the axilla. Use the full round surform to cut a depth of ¾ or the full depth of the round surform at the proximal lateral trimline. The depth depends on the compressibility of the soft tissue.
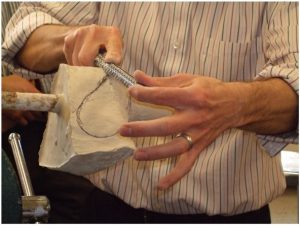
| 4b) Flatten the posterior wall to the depth of the finger indentations. Maintain the plane of the scapula. | 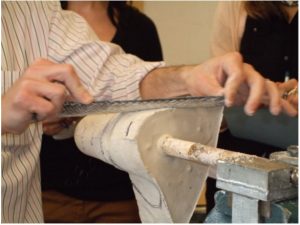 |
| 4c) Smooth the medial wall. | 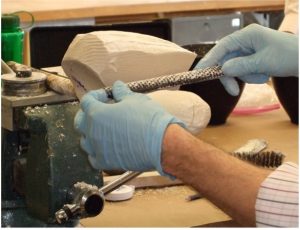 |
| 4d) Shave the proximal portion of the cast down the groove. | 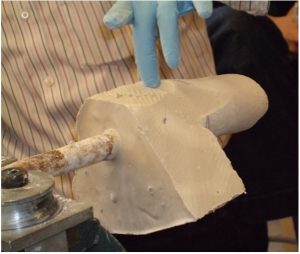 |
| 4e) Remove plaster from corners and smooth the transition from posterior to lateral and anterior to lateral. | 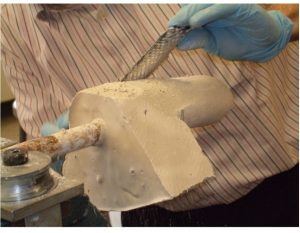 |
Step back and evaluate each perspective of the mold. Consider the underlying anatomy.
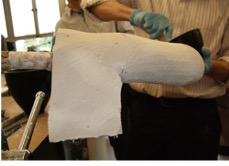
5. Add plaster
| 5a) Add plaster to blend the anterior trimline to the axilla and the posterior trimline to the axilla.
|
 |
| 5b) Create a slight reverse curve in the axilla. | 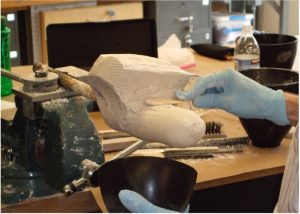 |
| 5c) Shape the anterior stabilizer. The deepest portion of this is at the deltopectoral groove – medial to the apex of the head of the humerus and about 3-5cm (1-2”) inferior to the clavicle. This shape is 3-d shaped or fossa-shaped. | 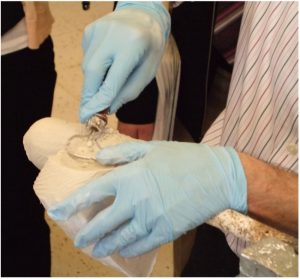 |
6. Reassess and smooth mold
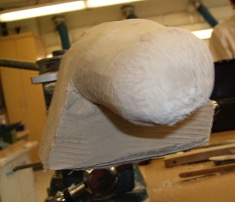
Test Socket Fabrication
| Thermoform the plastic over the mold. | 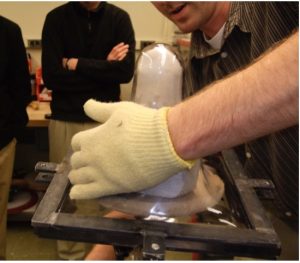 |
| Avoid wrinkles at the shape transitions. | 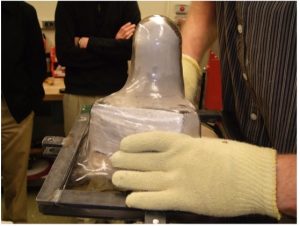 |
| Get a good seal on the platen. | 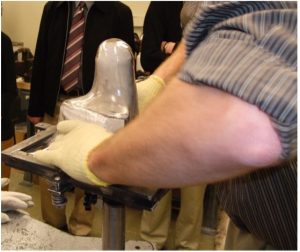 |
| Trim it out, smooth it and drill a pull hole. | 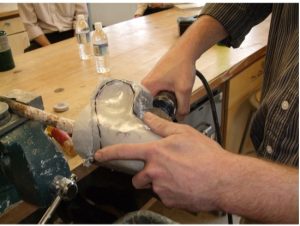 |