
12 Socket Impression Technique
Transhumeral Socket Design (Type II – 50-90% residual limb length)
The transhumeral level amputation presents new challenges to prosthetists. The socket no longer has inherent stability and suspension. While the length of the humerus affects the potential leverage capability as well as the potential for generation of forces, the cylindrical shape of the limb provides no rotational control of the socket on the limb. It is challenging to securely capture the movement of the residual limb.
Cast Impression Process
![]()
1. Before patient arrives
|
2. Patient evaluationReview ICF factors to identify appropriate functional goals. For this socket design, specifically evaluate the patient’s limb including
Predict how to balance the triplanar forces and counter-forces during both static and dynamic activities. |
3. PreparationCommunicate with the patient about the process and what they might expect. Ask if they have any questions, so they can relax. |
| Measurements
Circumferences:
Measure A-P dimension:
Measure M-L dimension:
|
 Lengths:
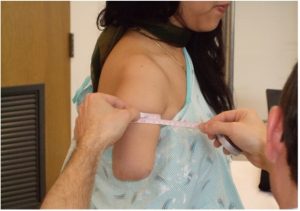
| Prep Residual Limb
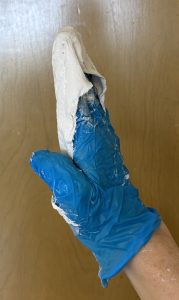
Don stockinette or nylon. Cut one leg off the nylon, then place the nylon on the pts limb. Twist the bottom of the nylon, tie off and reflect back up onto the limb. Apply a liberal amount of Vaseline/separator to hair and place plastic wrap over the area. |
 Use a gown and towels/sheet to cover the patient’s torso, clothing, and shoes.
| Prepare Splints
Cut one splint for the proximal section using 5” or 6” plaster. The length of the splint should extend from the medial border of the scapula to 2-3 inches past the deepest portion of the deltopectoral groove. Make this splint 6-10 layers and cut so that it is not a continuous length of plaster. Cut the second splint about 5-6″ long using 5″ plaster. Make this 4 layers. Optional: cut splint to cover distal end. |
 |
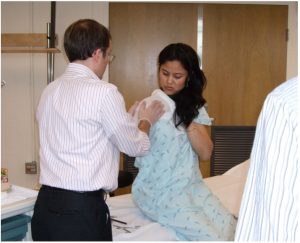 Practice your hand placement on the patient and verify that it is comfortable for the patient. Practice your hand placement on the patient and verify that it is comfortable for the patient.
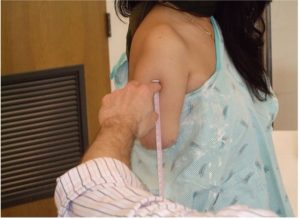
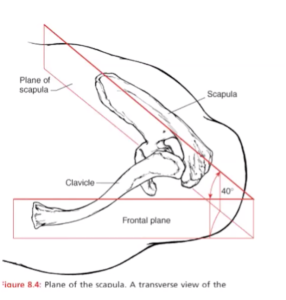
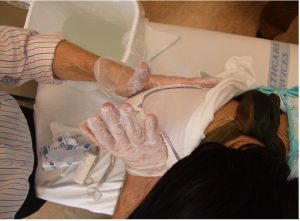
For this two part cast: (1) Medially: One hand is placed in the axilla, while the opposite hand compresses softly from the lateral aspect of the residual limb. The hand in the axilla should avoid compression into the neurovascular bundle. If the fingers are too thick in the axilla, use a small dowel or 10mm thick sheet of soft foam. (2) Anteriorly: Place your thenar or hypothenar eminence in the deltopectoral groove, avoiding pressure on the clavicle or the humeral head. Posterior aspect: The fingers lie on the scapula in the same plane as the scapula. UCLA pages 244-249 |
Notice:
|
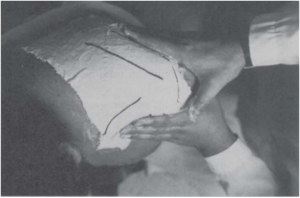
Mark Bony Landmarks
- Clavicle
- Spine of scapula
- Humeral end
- Humeral shaft
- Head of humerus
- Painful areas
Mark Trimlines
4) Capture the impressionML pressure (1st part) Begin by wrapping circumferentially at midpoint of the limb and moving distally. Use about 3 layers of elastic, 3 layers of rigid plaster.
The opposite hand presses medially parallel to the other hand. The palm of the hand is moves proximally starting from just above the distal-lateral end moving towards the acromion to create a smooth lateral wall. |


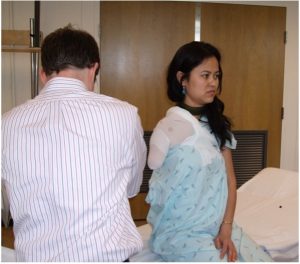
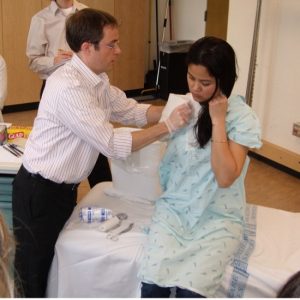
 After wrapping the limb with plaster circumferentially, place a splint over your inside hand. The dorsum of your hand rests against the chest wall and the top of your fingers press comfortably in the axilla.
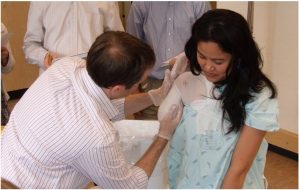 Place the inside hand comfortably in the pts axilla. Its only purpose is to locate the height of the axilla and location of tendons. Be sure to have plaster over the tips of your fingers. Do not flex the fingers of the medial hand – this may create undo pressure at the neurovascular bundle.
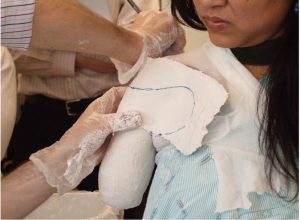
| AP Pressure (2nd part)
Recheck your trimlines and the length of the splint.
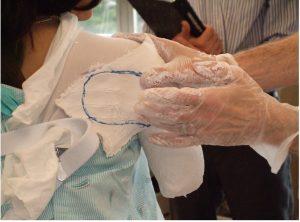
Wet the splint material and lay on pt so that the top of the splint is at the clavicle and the spine of the scapula. You want to be able to identify the clavicle and the spine of the scapula in your cast. Place the winkles of the plaster bandage laterally.
Check Alignment
Apply significant AP compression:
|
 After the circumferential wrap has set, reposition the plinth and practice your AP hand placement again.
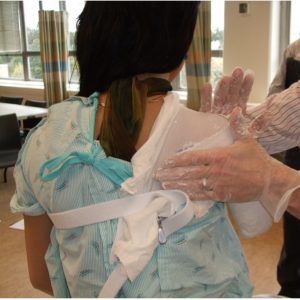
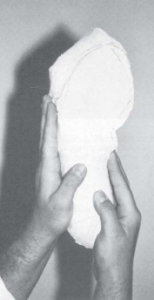
These are the trimlines you might expect.
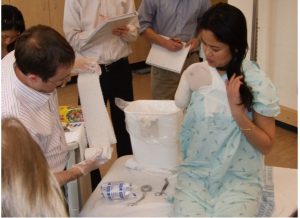
5. ReviewBefore removing cast: Mark landmarks and alignment lines
Gently remove the cast and inspect the residual limb Inspect the cast:
Review functional goals and purpose with the patient. |
Potential fitting problems
The images (A and B) illustrate potential fitting problems that may occur with the transhumeral socket design.
![]()
![]()