Key exam techniques
“Learn to see, learn to hear, learn to feel, learn to smell, and know that by practice alone you can become expert.”
– Sir William Osler
The physical exam is built on core techniques that you will become comfortable with during the Immersion: inspection, palpation, percussion, and auscultation. These techniques are typically performed in the same sequence for each body region, starting with inspection.
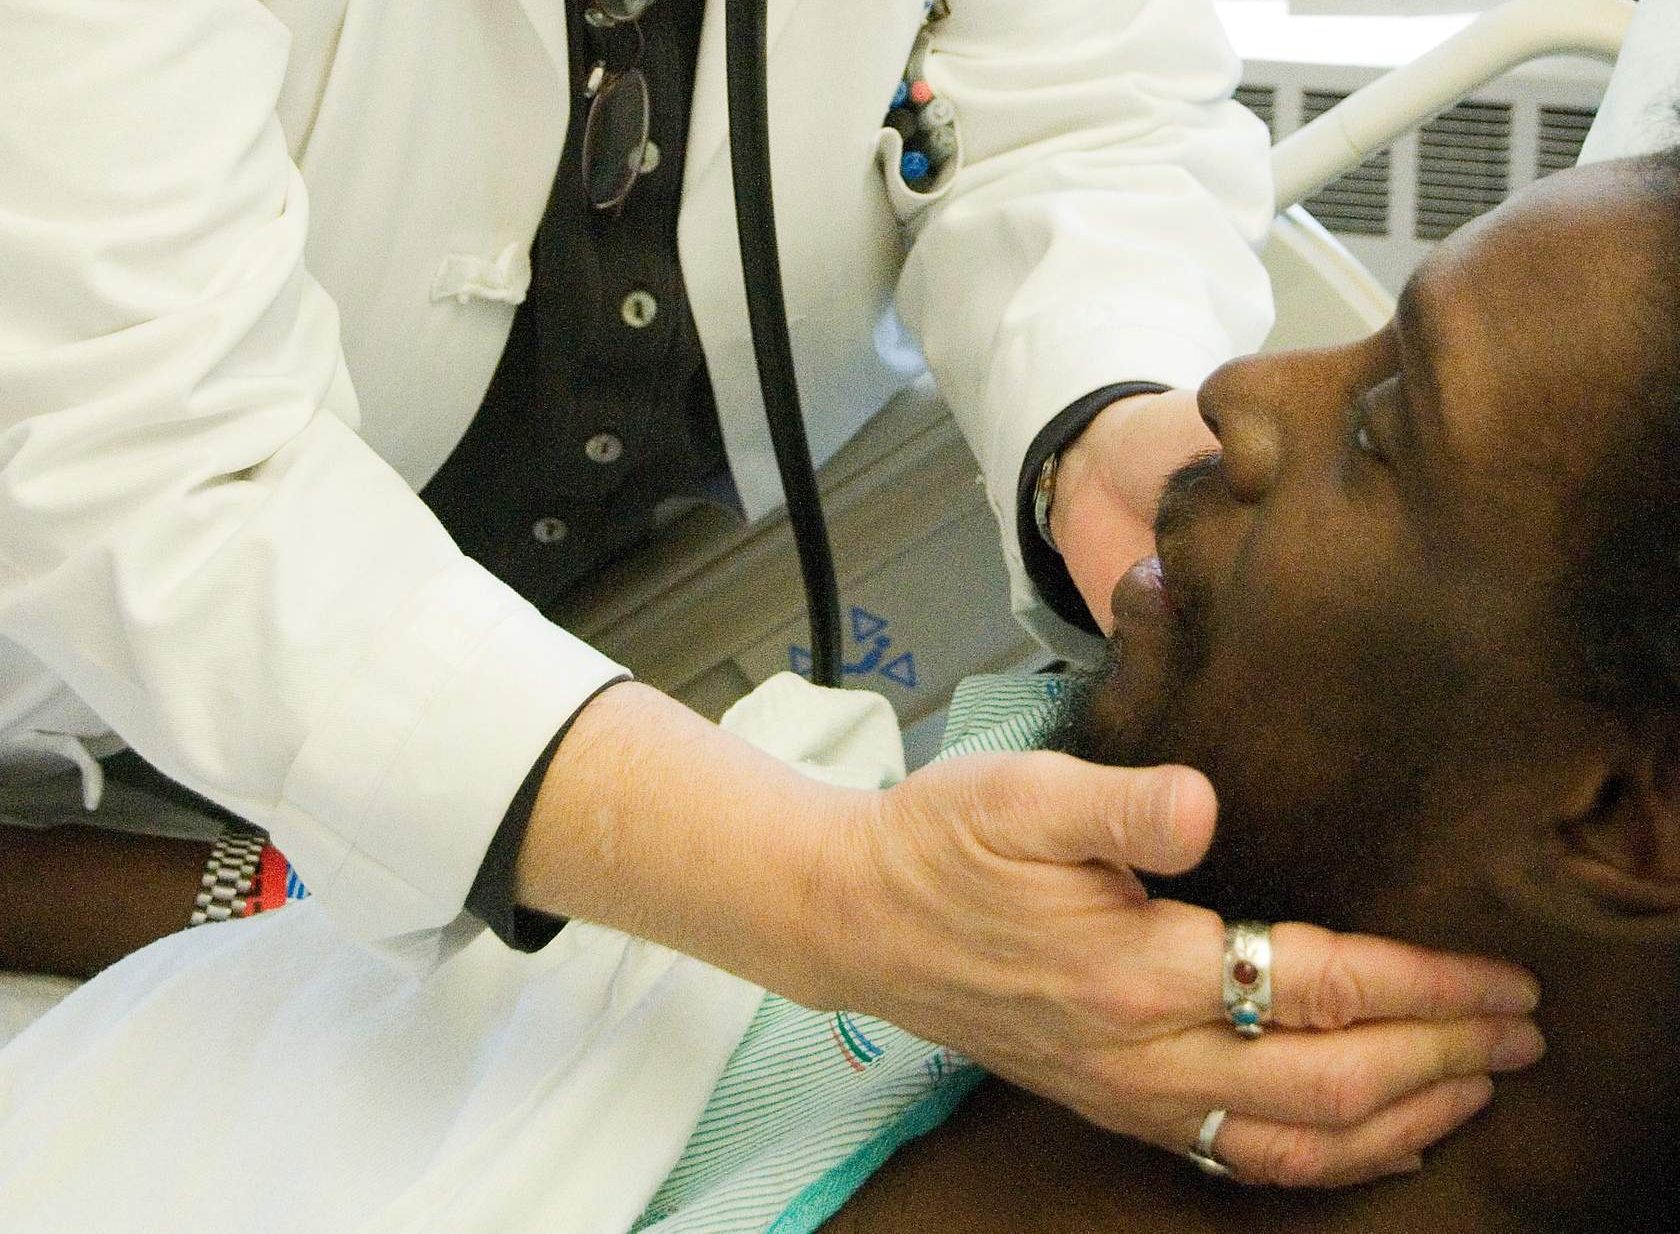
Inspection
Definition: The use of intentional observation to notice findings of illness and disease.
Inspection is the least mechanical and the hardest to learn of the physical exam techniques. It requires slowing down, and in this digital age, the human attention span has shortened by more than half.
Practice taking a conscious pause to observe and truly notice your patient’s appearance, affect, and surroundings and notice any findings of distress or disease, like facial expression, nonverbals, scars from previous surgeries, IV ports or skin changes. As you observe, correlate what you see with what you’ve learned from your patient’s history. If anything is unexplained, you may ask, for example, “I notice you have this scar on your abdomen. May I ask what it is from?”
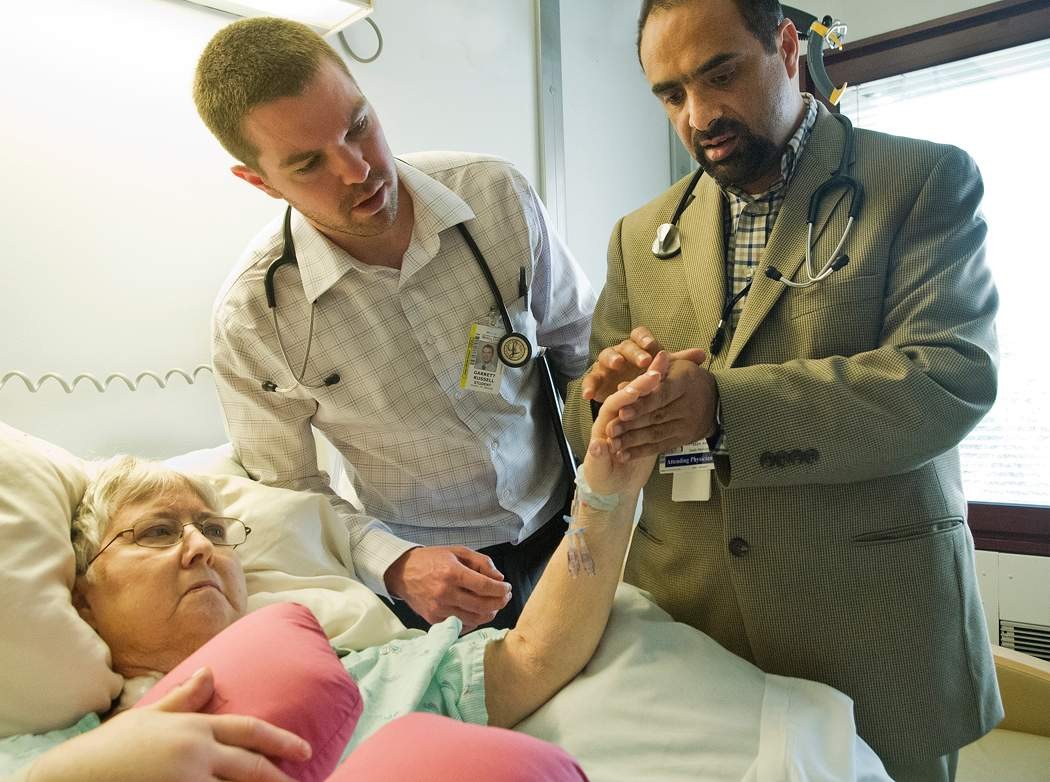
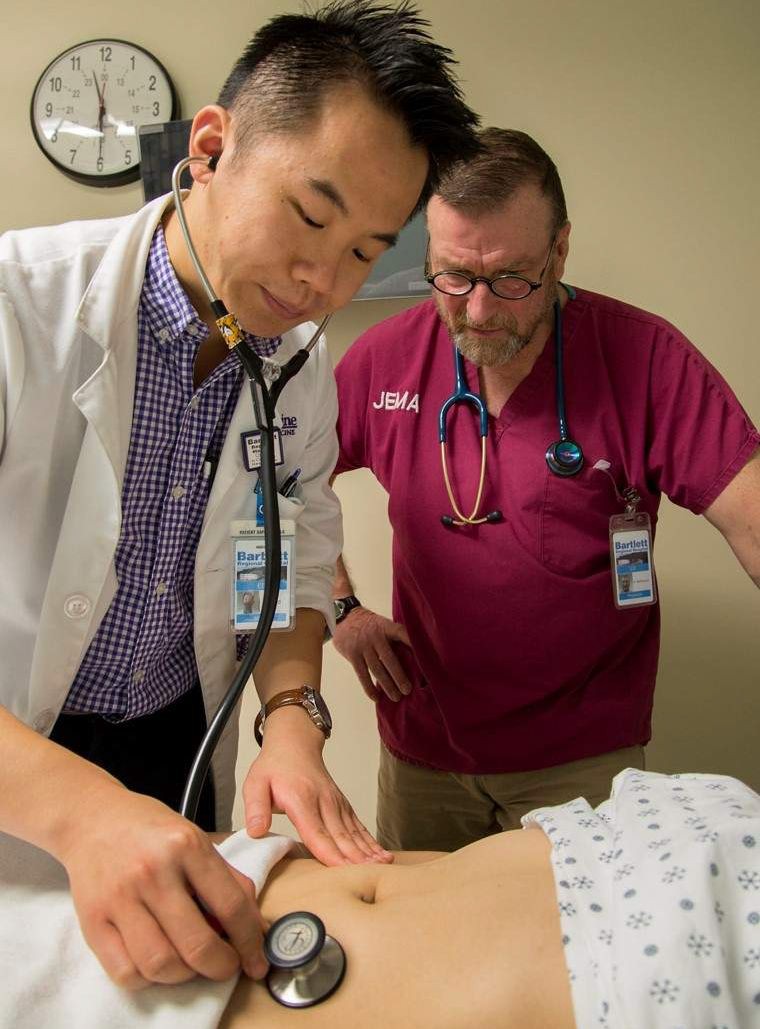
Palpation
Definition: The use of touch to characterize an area of the body
This technique is used to assess pulses and to observe for tenderness, masses, or swelling. You will use different parts of your hands and different techniques of palpation for different parts of the exam. For your patient’s comfort, make sure your hands are warm before palpation and begin away from any tender areas.
Percussion
Definition: Striking a part of the body to observe the sound and feeling produced.
Percussion can be either direct (your hand strikes your patient’s body) or indirect (your hand strikes your own fingers, which are pressed against their body). To practice, indirect percussion, place the third finger of your left hand firmly against a table or half filled plastic jug. Tap on your middle or distal phalanx using the tip of your right third finger as a mallet, swinging your right hand at the wrist. You are listening for the sound AND feeling the quality of the vibrations in the finger pressed against the body. Vary the pressure you apply with the finger pressed against the jug or table – do you notice the difference in percussion quality?
Auscultation
Definition: The use of a stethoscope to hear sounds produced by internal organs.
A quiet environment will increase the accuracy of your exam. Ask your patient and visitors tobe quiet, close the door, and mute the TV. With patients, always auscultate on bare skin, even if you are doing a brief exam in clinic and must work around clothing. Clothing can create sounds that fool you into thinking your patient has an abnormal finding or can make it harder to pick up on subtle abnormalities. You may not always see this modeled in clinical practice – where the environment and fast pace sometimes interfere – but this is what you should strive for.
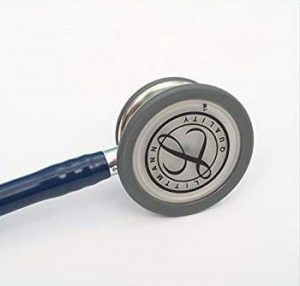
Examine and try out your stethoscope before lab. The stethoscope gifted by the Alumni Association is a tunable stethoscope with a larger diaphragm for adults and a smaller one for children. Apply firm pressure with either side to hear high frequency sounds, and light pressure for lower pitched sounds.
 |
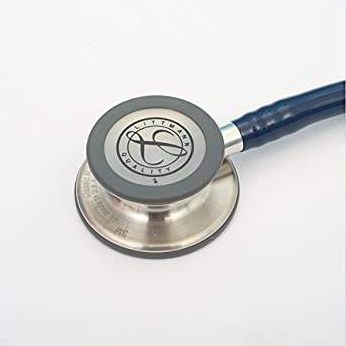 |
Classic stethoscopes have a concave bell on one side that is used detect lower pitched sounds. Your stethoscope includes a rubber rim that converts the pediatric side of your stethoscope to a bell. Since you may see kids in clinic, we recommend using your stethoscope as is.
After placing your stethoscope in your ears, tap against the surface you plan to apply to your patient’s skin. You should hear a fairly loud ‘tap’ through the earpieces. If you don’t, twist the head of the stethoscope with one hand while holding the end of the tubing with the other. After the head turns, tap again to confirm that the correct side of the head is transmitting sound through the earpieces.
Place your stethoscope in each of the following locations on yourself and see if you hear something like the sounds below! Use headphones for these and other audio clips in this guide.
Heart sounds: listen on the upper chest just to the right of the sternum.
Bowel sounds: listen over the middle of the abdomen
Lung sounds: listen on the side of the chest, over the lower ribcage
Double draping
Double draping refers to the adjustment of your patient’s gown and a sheet to maintain modesty and maximize comfort throughout the physical exam. Please practice this skill during each of your Immersion PE labs so you’ll be prepared when you see your first hospital patient.
For a complete exam, your patient will be dressed in a gown, tied in the back. A sheet is draped over the lap. These are moved during the exam so that only the part of the body being examined is exposed – either ask your patient to move them or ask permission before moving either of them yourself.
The position of the gown and drape differ for each section of the exam. If you’re not sure how to position the gown and drape in your PE lab, ask your instructors for suggestions for how to maintain modesty and comfort.